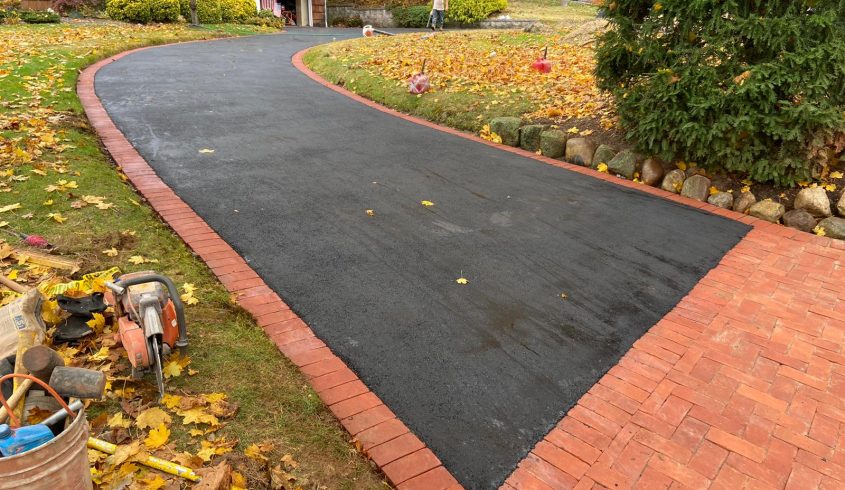
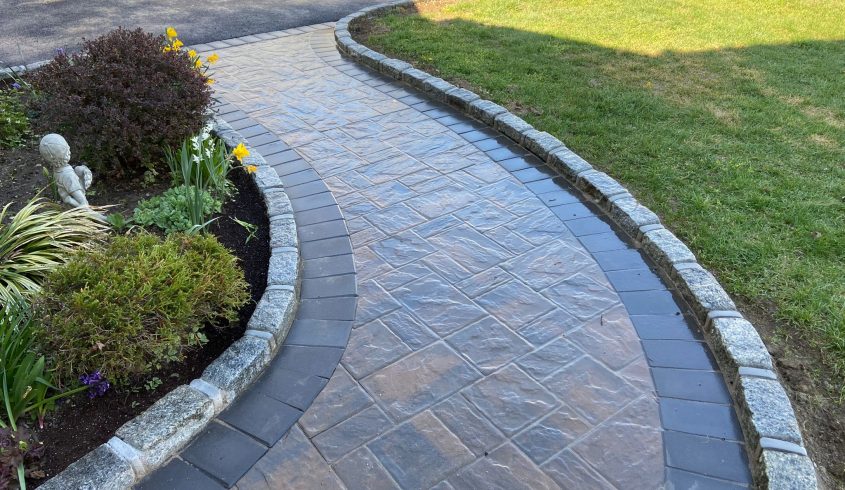
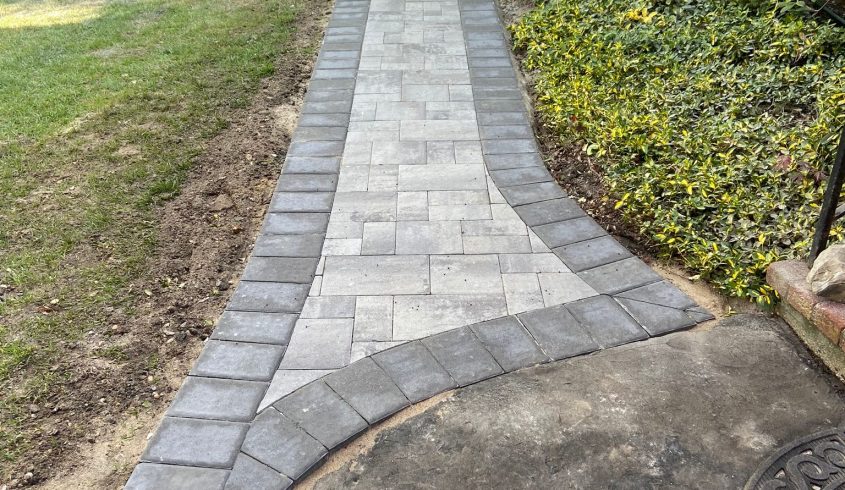


Apron Pavings
City and town and masonry are doing excellent work in apron paving. Our work adds beauty and style to your house. Our services increase the value of your house. Aprons are defined as the space between the sidewalk and the curb. Most often the owner of house will want the top portion of his driveway to be in asphalt and the apron in pavers. Construction of apron in paving stones gives a stylish touch and beauty to the rest of the driveway and your entire property. We city, town and masonry have several materials and styles for our clients so that we can meet their need and turn their dreams true.
SERVICE DETAILS
Following are the simple steps that tell you how to make the apron paver in beautiful way and you’ll smile always when you drive on this beautiful work.
First make a graph of the paver and design it then proposed it to your client. After making final decisions we are ready to implement it. Because you know when we lay the pavers you’ll already know the look that you want. In this way it will save time. Before starting new work, when the apron does not exist in that working area, we use a hose or wood or even spray paint. We use this to form outline the driveway apron. This will help our client visualizing and understanding that how it will look when it will made. When you seeing a design physically is just like trying a new wall color by painting a small section. When you see it you understand that what you like.
The second step is measuring the width and length of the apron. For the angled apron the wider will be the street at the end. To achieve the suitable installation of apron paver without wasting the area we multiply the length with the widest width to obtain the area’s square footage. By calculating the right number we will get the right number of pavers, base material, bedding and joint sand necessary to fill that area.
Now in this step the present apron will remove by cutting 2 foot by 2 foot squares with help of a concrete saw. After that breaking the squares with a sledge hammer.
Now mark the height of the pavers after those pavers should not exceed with a help of stretched string stretched between two stakes. Apron should be in downward position, away from your drive and its face is toward the street so that water will flow from the drive to the gutter. The slope height and length should not be less than 1 inch for every 4 feet of driveway apron. After excavation compact the soil.
Based materials are spread in three layers each layer will be made.
In this step Installation of the edge restraints is done. If we don’t do this step it will cause the pavers to move and separate and results in decreasing the curb appeal.
Place the bedding sand over the base material then level it with a board to 1 1/2 inches thick.
Install the pavers according to the design you graphed.
Remove the fine grained sand with broom between the paver joints. In this way each joint is completely filled. Remove excess sand and make sure that the tops of the pavers are thoroughly clean and ready for the sealant.
Now last step is sealing in which we seal the pavers with a sand binding sealant.